![]() ORDERS OVER £95 ARE SHIPPED FREE
ORDERS OVER £95 ARE SHIPPED FREE

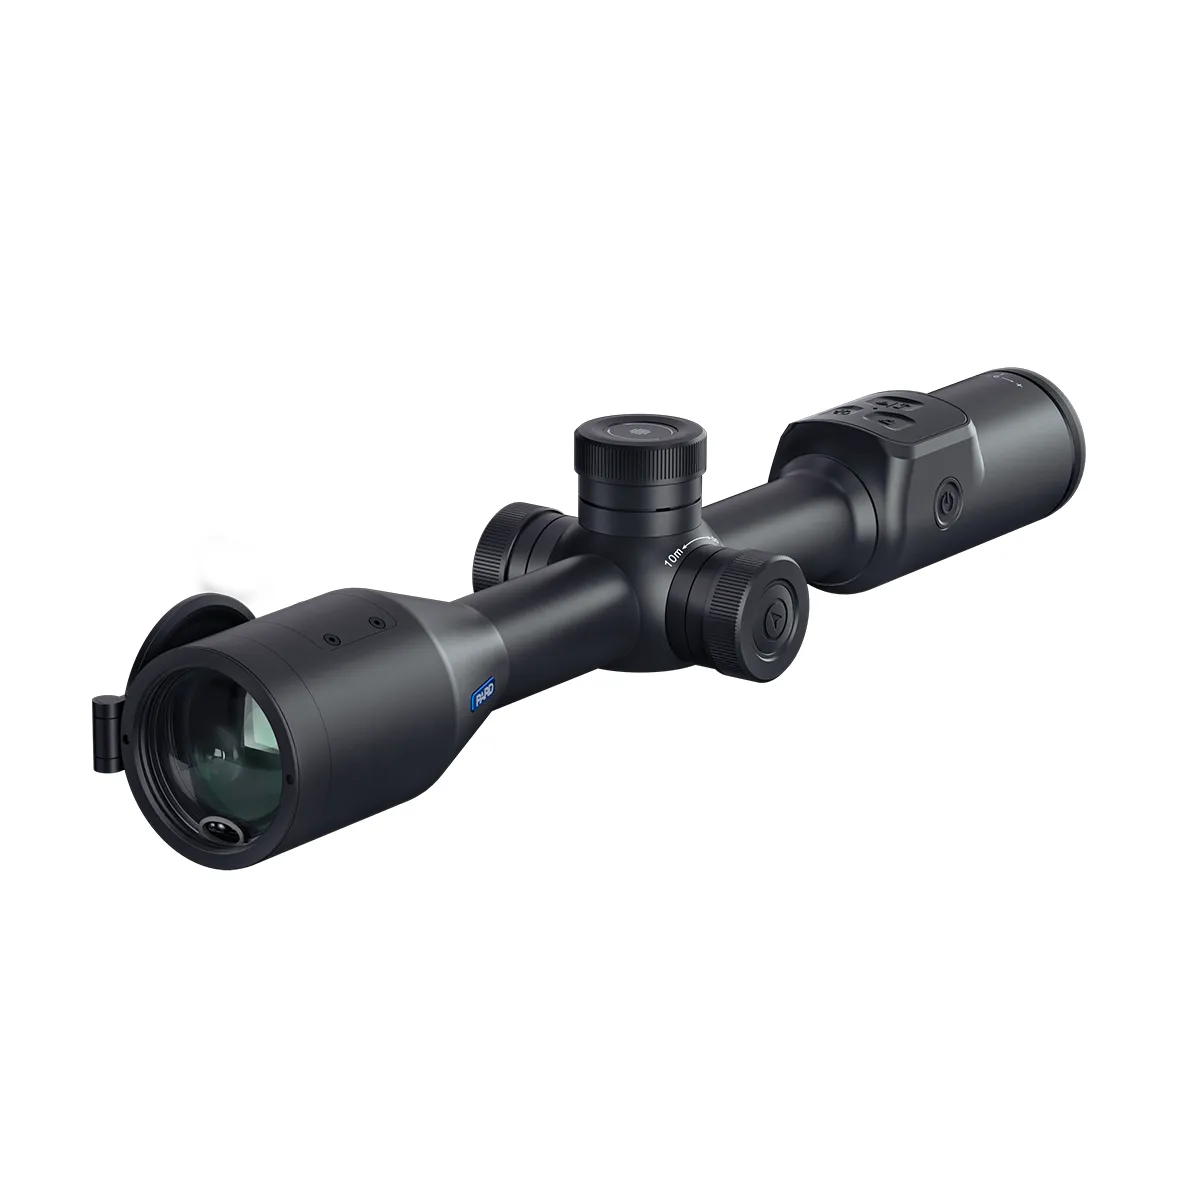
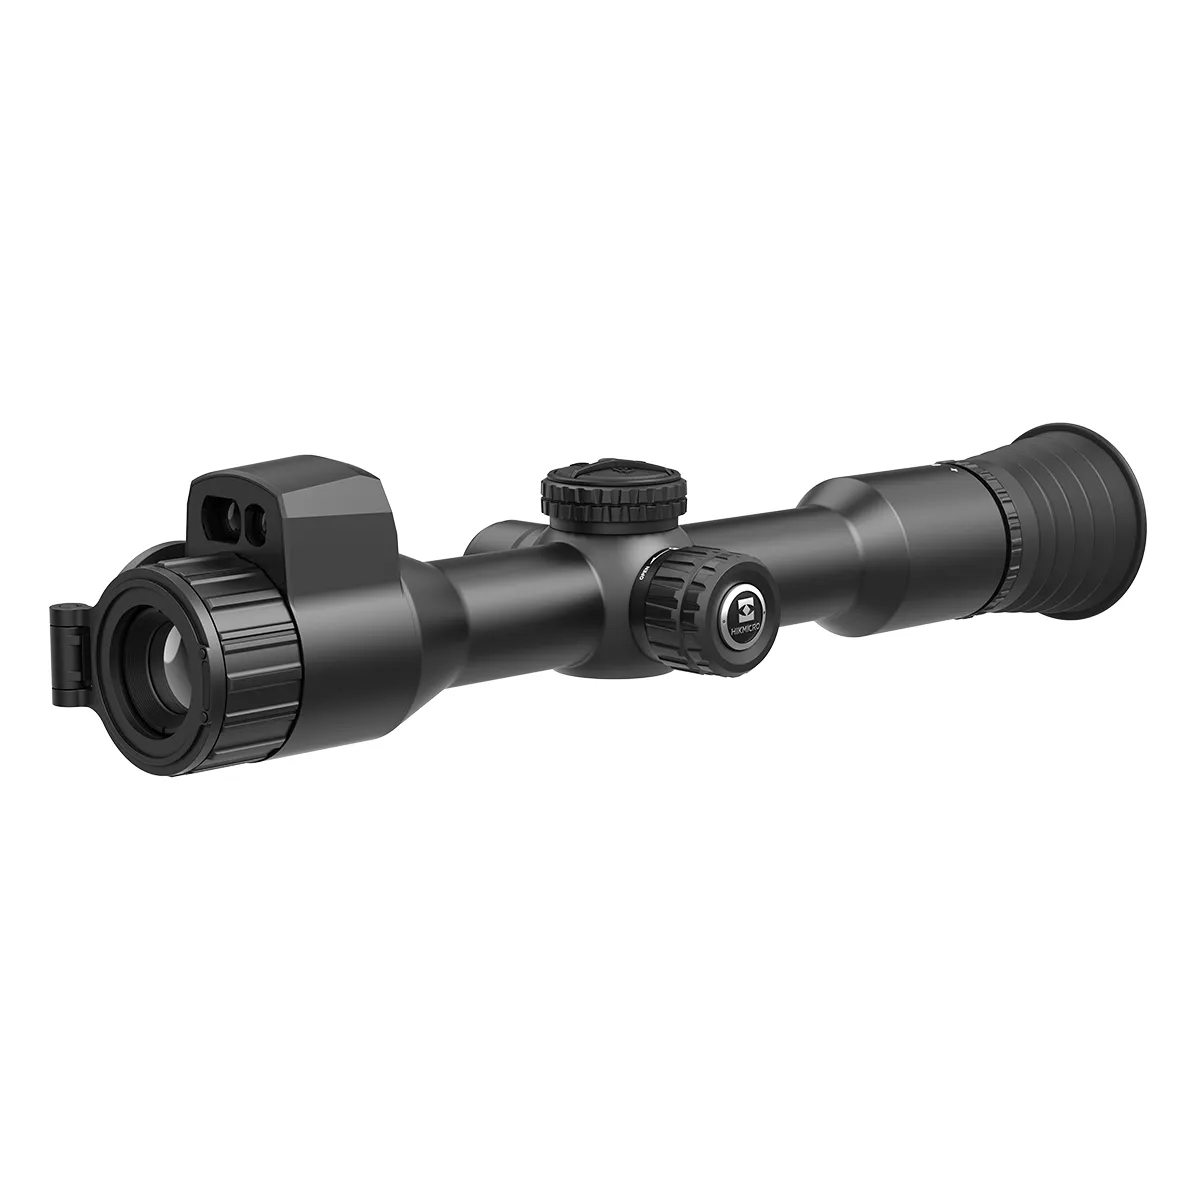
This guide is a hands on overview of the Pard NV008S LRF model and it's features and there use in the field. The Pard NV008S LRF replaces the previous model Pard NV008P LRF.
Improvements over the previous model are :
- More compact body and outer shell
- Increased 1200m LRF range housed in single sender/receiver
- Integrated lens cap and focus throw lever
- Silent button operation
- USB C connector for charging & vehicle charging.
- Improved low light sensor.
- Selection of scaled reticules with multi aim points.
- Reduced sound interference on recording.
- Inbuilt ballistic application.
So I'd just like to share a first hand experience of the new Pard NV008S LRF. The unit features a super small low weight design which is ideal for airguns and rimfires, even more so if the user wants to keep the full package small, compact and most of all minimise weight. As far as dedicated digital scopes go there's not many that pack so many features into one product. This is the Pards strong point and appeal for many alongside the new ballistic application which raises the bar in terms of taking all guess work out of range estimation and hold over.
So I mainly want to cover a few points in this article, setting the unit up, exposure control, IR illumination and the ballistic application.
Exposure control
From use of the the unit in the field, I would personally leave the exposure control set to negative -1/3 as to minimise any over exposure of the image and also benefit from a slightly more natural colour reproduction during daytime and also limit over exposure from the more sensitive sensor during night time use.
IR Illumination
I would recommend using an external IR illuminator with the Pard NV008S LRF models for two reasons, firstly image improvement, I would recommend a 50mm AS LED illuminator that provides a clean overall image, various flood options and power level control, this is more than enough for most people and helps prevent white out from the more sensitive sensor over some VCSEL options, secondly leaving the Pard NV008S in night vision mode with inbuilt IR turned fully off, the unit will run a long period of time, just turn the external IR torch on and off as required for each shot this prolongs life and run time dramatically. We supply either a VCSEL or LED option free with each Pard NV008S LRF unit to improve image quality. ** Nightblaster VCSEL OR Nightblaster LED **
Ballistic Application Setting Up
So I will go through a couple of easy methods for setting up the ballistic application within the NV008S LRF unit.
First and foremost it is essential your ammunition is accurate at the ranges you intend to shoot, there is no point of having inconsistent group sizes or poor accuracy and using the BC method for aim point, your entire foundation will be flawed from the start, ensure you have a consistent round, it is paramount.
The first thing to do is to check your projectile speed using a chronograph, note this down as this will be entered later into the ballistic calculator, next measure the distance between the centre of your barrel and the centre of the Pard NV008S LRF front objective lens in inches, note this down also, some of this data will be fixed values and entered into the ballistic application, there are other settings like temperature and altitude, if your using a rimfire and centrefire these will be beneficial, but something like an airgun they will not matter that much, so scope height, projectile weight, zero distance and speed will be fixed values and then we will modify the BC variable to calibrate bullet drop, as a rough guide you can pull the manufacturer BC, although bare in mind this will more than likely be way off and need adjusting.
Once you have entered your zero distance (50yds for me), we then need to check on a shoot and c target or similar to confirm bullet drop, set a target at a further distance for example 80yds-100yds and take a shot using the LRF-BC calculator function, if the shot is low, then decrease your BC, if it is high then increase your BC value, do this until it matches yout actual point of impact using the ballistic LRF application.
Another method is to zero your rifle at a given distance again I will use 50yd as an example, then select one of the Pard NV008S LRF scaled reticules, then take a shot again on a visible target at 80- 140yds as an example and note on which reticule marker the drop coresponds with on each reticule intersection, then you know they are given drops and holdovers on your reticule, what you can now do is adjust your ballistic calculator BC so the calculated holdover marker matches your now distance on your scaled reticule.
Once these are setup, you should have very accurate holdover for longer range shooting.
To further increase accuracy, the Pard units have an inbuilt cant indicator angle and incline indicator angle, before use these need to be calibrated with a bubble level fitted to your rifle. These are a total game change when shooting longer range with an airgun or rimfire with a loop trajectory were a few degrees of rifle cant can throw the shot off inches at 100yds and beyond, thats without the other variables of wind and incline.
The Pard NV008S LRF is available to purchase on our store.